

The complete guide
Two Cameras, Two Views: How To Plan A Solar Camera 2 Pack
One camera always leaves a gap
Put a single camera above the front gate and you will soon notice what it cannot see. The car, parked round the corner of the porch. The side passage where the bins and bicycles live. The back door that opens onto the service area.
People usually respond by buying a second camera a few months later. Often it is a different make, bought on impulse, with a second app to learn.
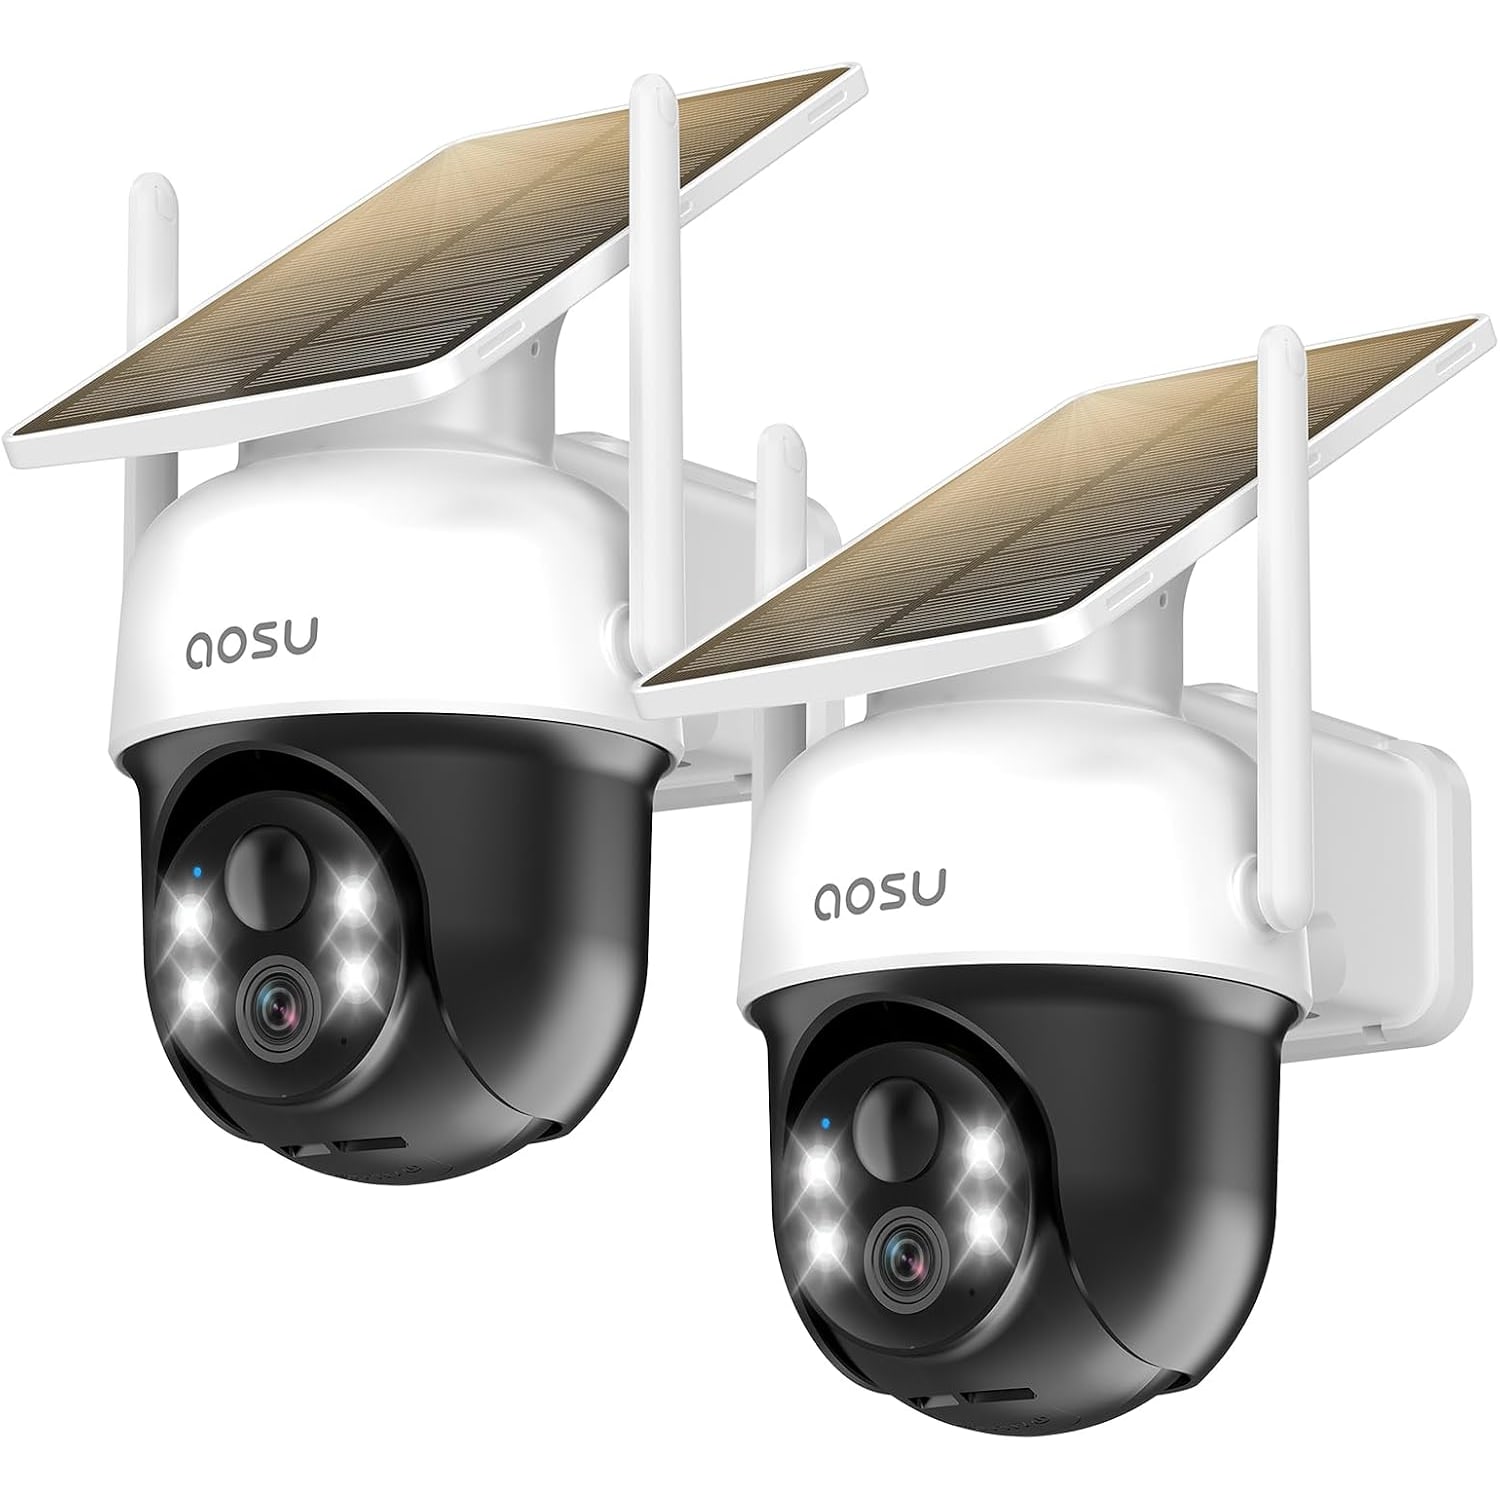
A 2 pack skips that stage. This one holds two matching solar cameras. Both work the same way and are set up the same way. The question this guide helps you answer is not really "should I buy a camera". It is "where do my two cameras go, and will each one get enough sun and WiFi there".
What is in the pack
Two complete cameras. Each has a 3 MP sensor, a motorised head, a fixed solar panel and an internal battery. The maker lists the battery as 5000 without giving a unit. Neither camera needs household electricity.
The maker does not list the smaller fittings in the box, and SD cards are sold separately. So plan on buying two cards, and check the screws and wall plugs when the box arrives, before the handyman does.
Choosing two positions
This is the part worth slowing down for. Each position has to pass three tests.
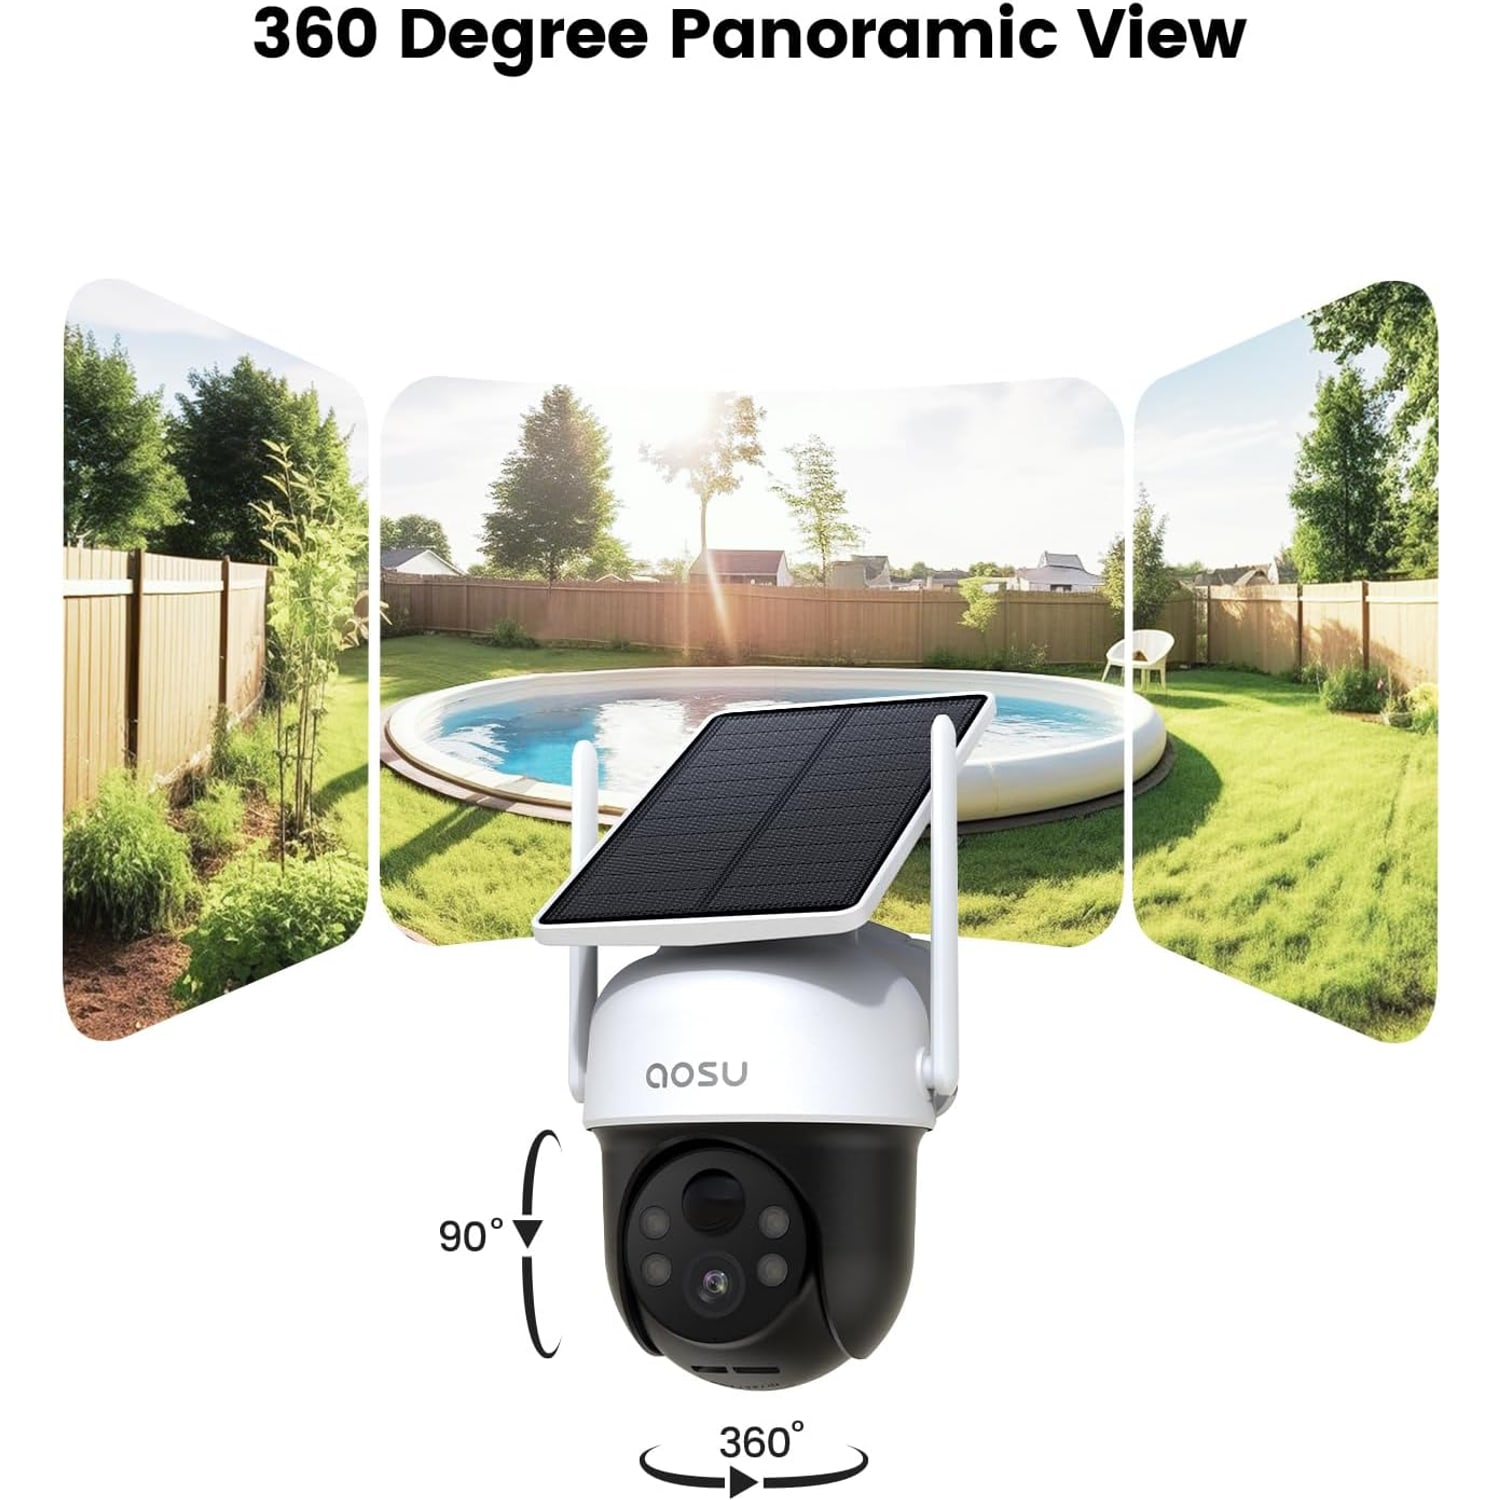
The first is the view. Stand where the camera would be and look. Can you see the gate latch? The car door? The ground where a parcel would be left? Because these cameras pan 347 degrees and tilt 90 degrees, one position can cover a lot. A corner of the car porch may see both the gate and the front door.
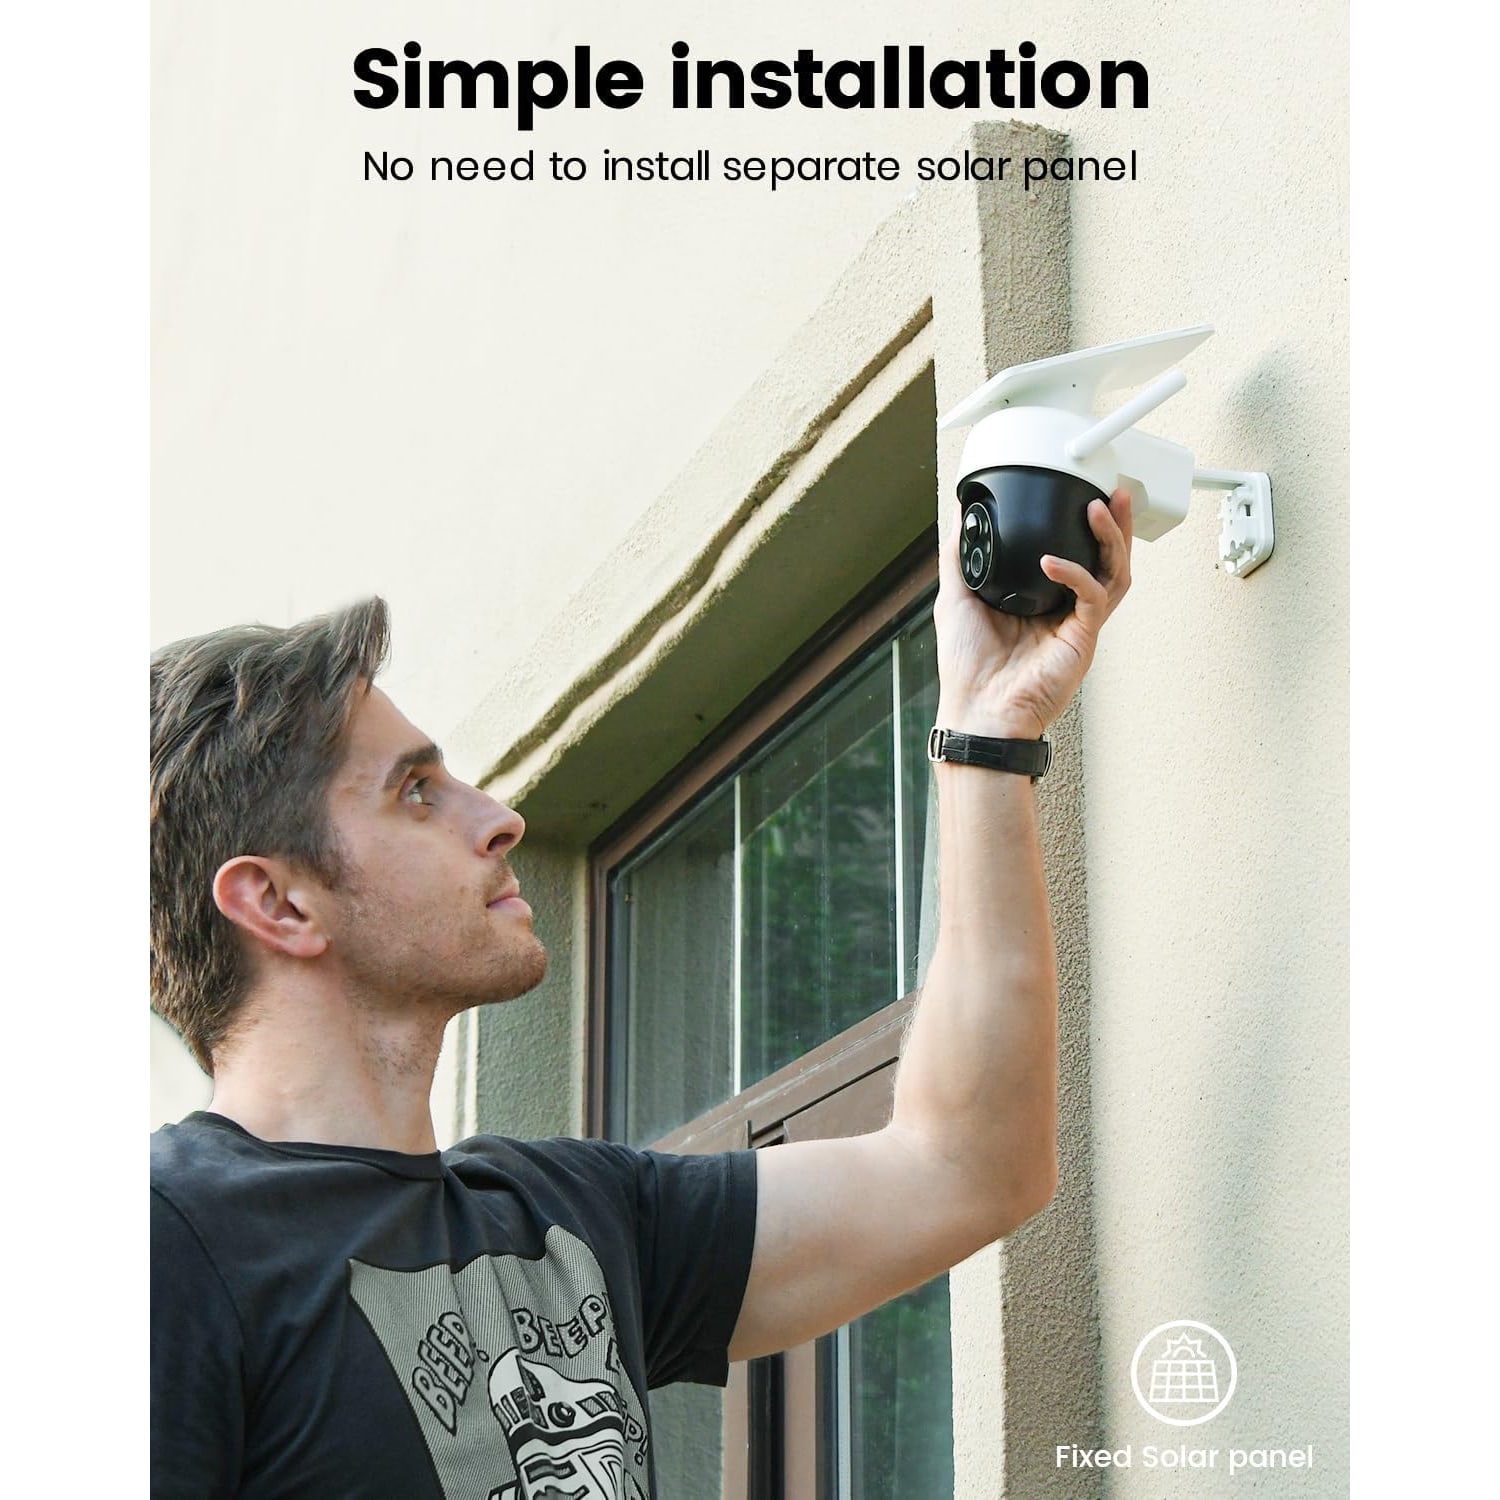
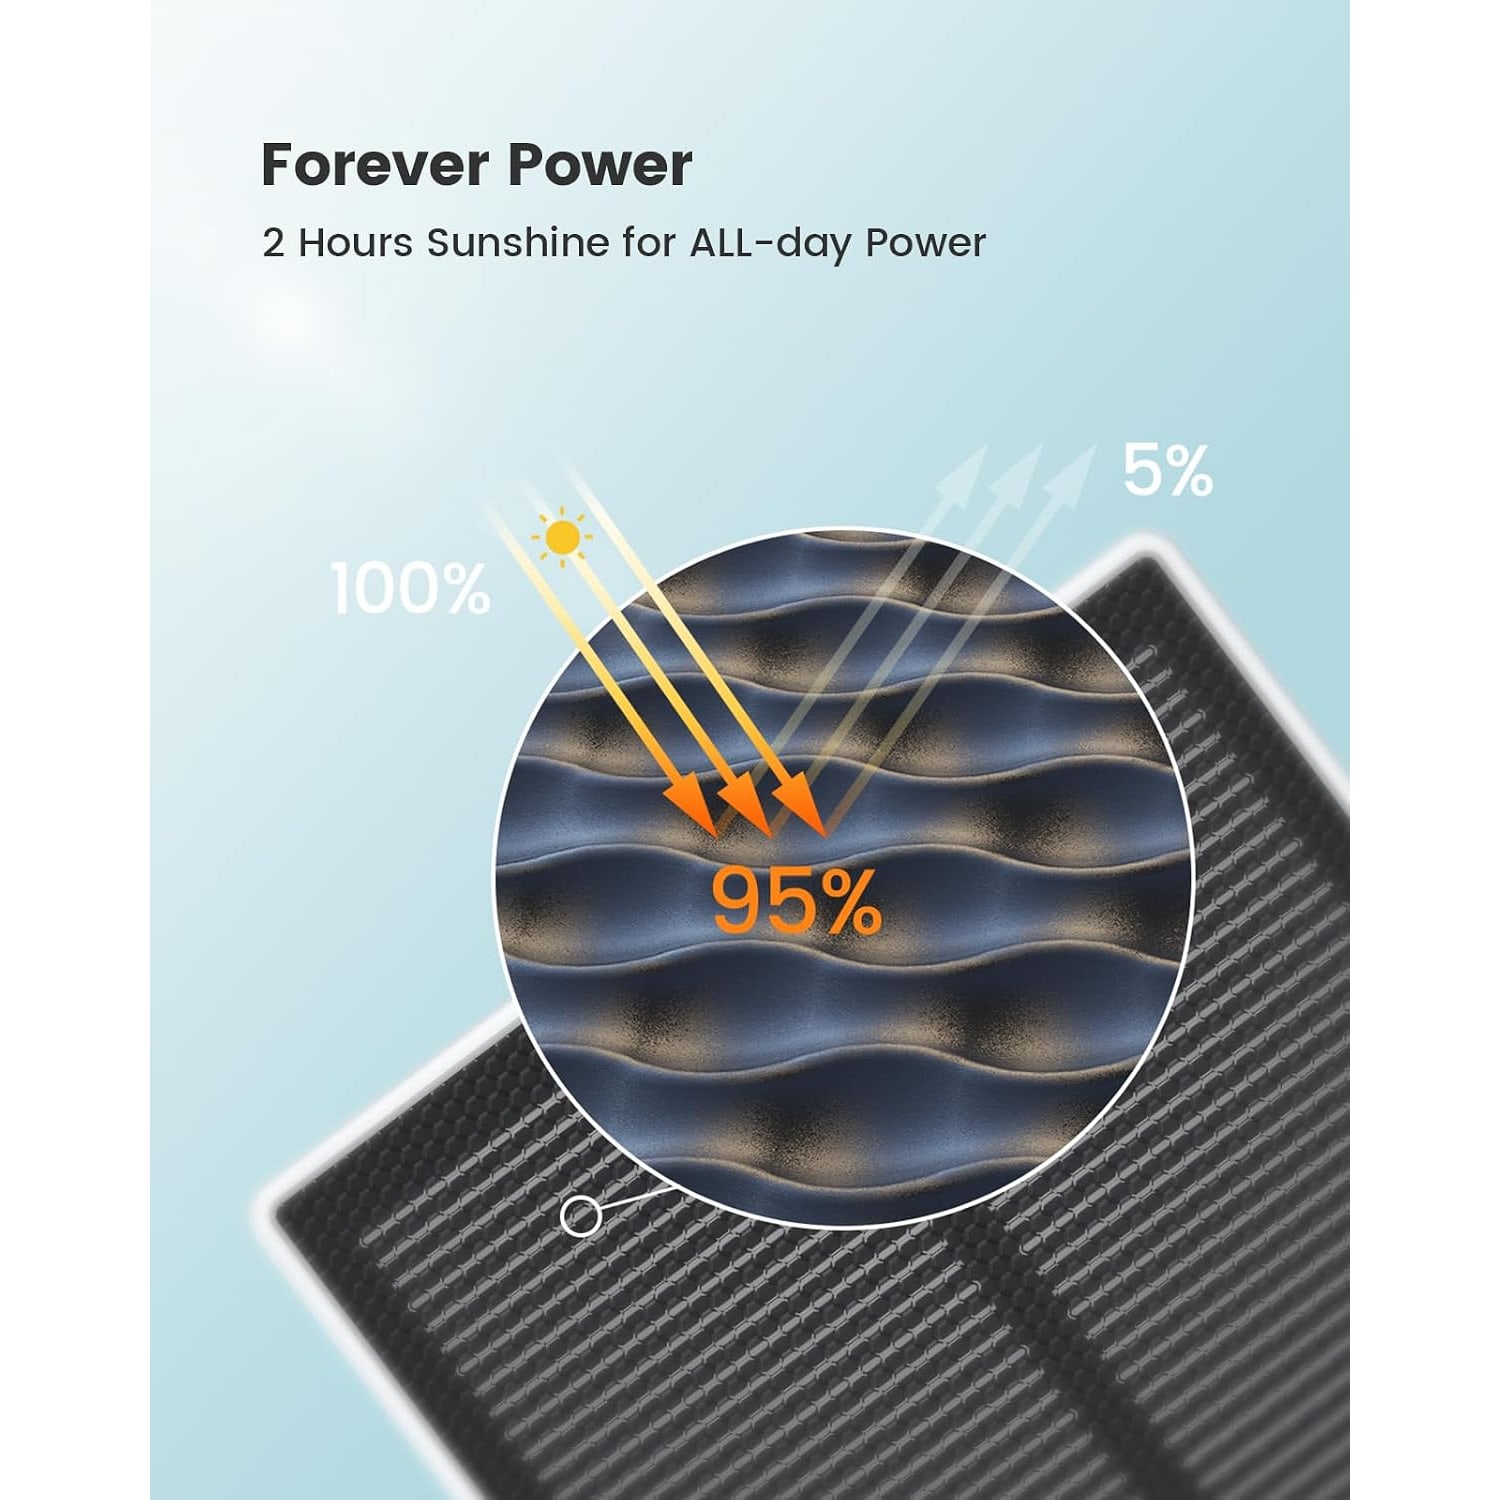
The second is daylight. The solar panel on each camera is fixed, which means it sits on the camera and cannot be moved to a sunnier place. So the camera itself has to be in the light. A wall that is open to the sky for part of the day works. A spot deep under a wide roof does not. Visit each candidate position in the morning and the afternoon and see where the sun falls.
The third is WiFi. The maker states that these cameras need a WiFi connection and do not work offline. Hold your phone at each position and play a video over the home network. If it stalls at the back of the house, you may need a mesh point there before the camera can do its job.
Aim for two positions that overlap a little. If each camera can see roughly where the other is mounted, there is no patch of ground between them that neither covers.
What each camera sees
Each camera records at 2304 x 1296, which the maker calls 2K. Compared with 1080p, that is about half as many pixels again, and you notice it when you zoom into a recording to see a face or a number plate.
The frame rate is 15 frames per second. That is lower than a television picture, and movement looks a touch less fluid. For seeing who came to the gate and what they did, it is plenty. A lower frame rate also asks less of the battery and fills the SD card more slowly.
There is 6x zoom, listed as digital. One line of the maker's details says optical, but we take the cautious reading. Digital zoom magnifies what the sensor has already captured.
Tracking, patrol and detection areas
These cameras do more of the watching themselves than a basic model does.
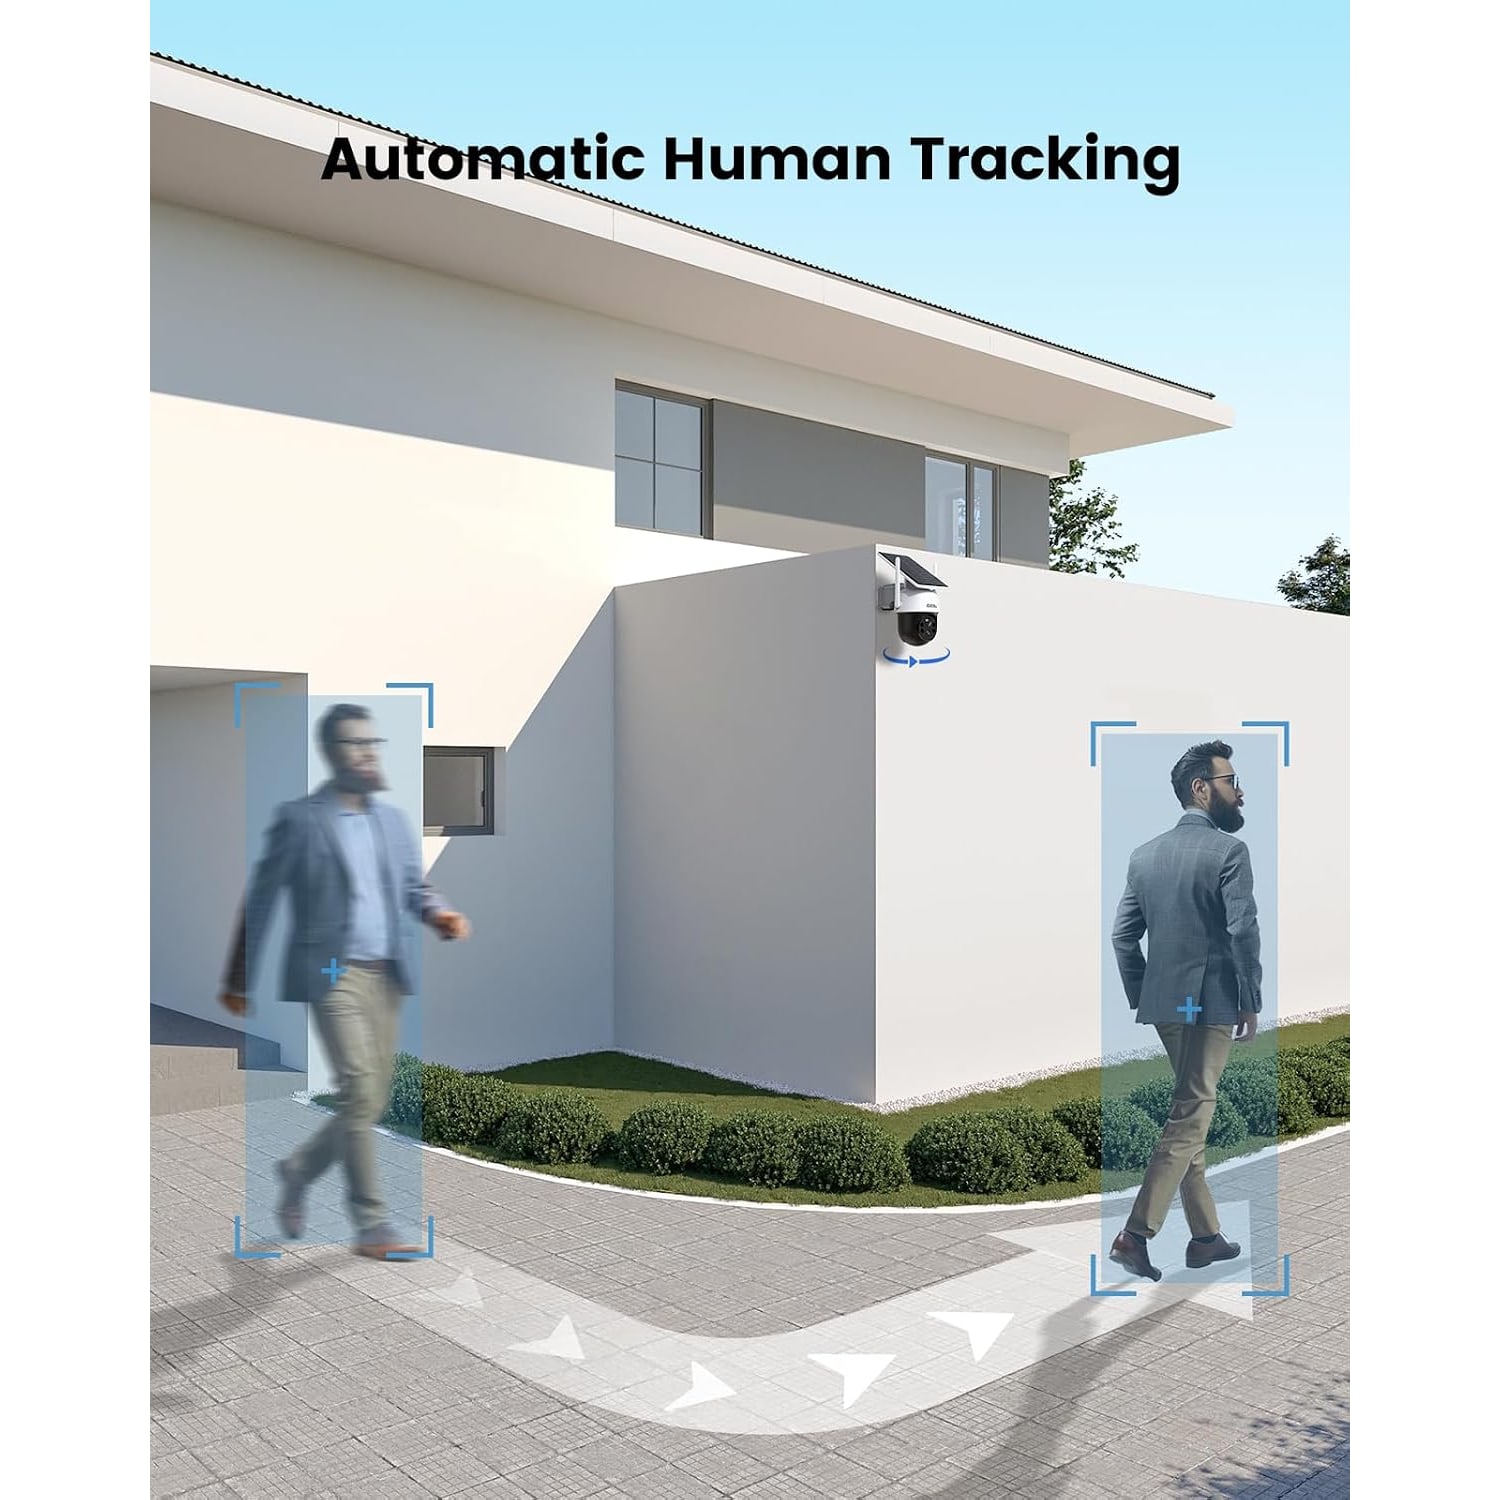
AI human tracking is the main feature. When a camera detects a person, it turns to keep them in the picture as they move. On a long frontage, that is the difference between a clip of someone entering the frame and leaving it, and a clip of where they actually went.
The one-tap patrol is a simpler tool. Press it and the camera makes an automatic sweep of its surroundings. It suits a quick look round before you go to bed or when you land after a flight.
Detection can be customised for people and for cars, working alongside the PIR motion sensor. You can also mark out your own detection area. This matters in Singapore, where homes sit close together and close to the road. Draw the area around your own gate and porch, leave out the footpath and the neighbour's entrance, and the alerts become much more useful.
Lights, sound and night
Each camera has four LEDs, in red and white. The red ones give infrared night vision, which works without visible light. The white ones light up the scene so the camera can record in full colour. The listed range is 15 m.
The same lights are part of the alarm. When a person is detected, the camera can switch on its bright lights and play an audio alarm, and it sends an alert to your phone. The maker also describes proximity lighting, which brings the light on as someone approaches. That doubles as a porch light when you come home with your hands full.
A word on manners. In a terrace row or a cluster development, a loud alarm at 3 am because a cat walked past will not make you popular. Use the detection area and the person setting so that the lights and sound are saved for the moments you mean.
Two-way audio is built into both cameras. You can listen and speak from your phone.
WiFi is not optional
It is worth repeating, because it is the most common cause of disappointment with outdoor cameras. These cameras run on 2.4 GHz WiFi. They pair over Bluetooth during setup, which the maker describes as automatic. After that, WiFi carries everything. With no WiFi there is no live view, no alerts and, by the maker's own statement, no offline operation.
Set up both cameras indoors, close to the router. Name them clearly, such as "Gate" and "Back door". Then carry each to its position and check the live view before you fix anything to the wall.
Storage
The maker lists two storage options and names one of them: an SD card, sold separately. It does not state a maximum card size in its details, so check the manual before choosing a large card. Each camera needs its own.
Rain, heat and humidity
The cameras are rated IP65 and sold for outdoor use, so ordinary rain is expected. The maker does not state an operating temperature range.
Because the solar panel is fixed, the camera has to sit in the open, and that means sun on the housing too. Masonry stays cooler than metal. Where you have the choice, fix the camera to a rendered wall or a concrete pillar and not to dark metal cladding.
Humidity leaves a film on lenses, and dust and dried rain marks collect on the panels. A wipe with a soft damp cloth every few weeks keeps both the picture and the charging in good order. Trim back any plant that has grown over a panel.
Fitting day
They are listed as screw-in wall mounts. A few tips make fitting day go smoothly. Fit the SD cards before the cameras go up. Mount each camera high enough to be out of easy reach, but not so high that you cannot wipe the panel from a step stool. Run the one-tap patrol once each camera is up, to confirm nothing blocks the head as it turns.
Who this pack suits
It suits a landed home, or a ground floor unit with its own outdoor space, where two areas need covering and both have daylight and WiFi. It suits people who want the cameras to track and patrol by themselves.
It is the wrong pick for a single doorway, for a shaded corridor, or for a property where WiFi stops at the front door. In those cases one camera, or a different type of camera, will serve you better.
The short version
Two matching solar cameras in one pack. Each records 2304 x 1296 at 15 frames per second, pans 347 degrees, tilts 90 degrees, tracks people, patrols on one tap and sees in colour at night to a listed 15 m. Both need 2.4 GHz WiFi and daylight on their fixed panels. SD cards are extra.
Choose two positions that pass the view, daylight and WiFi tests, and the pair will cover what a single camera never could.